3 Steps to Better Support Your Yoga Arm Balances
Arm balances in yoga may seem daunting, but with the right approach and understanding, they can become an exhilarating part of your practice.
Whether you're a beginner or have an established practice, taking the time to learn and refine the details and components of arm balances is crucial to make them more accessible and safe.
In this blog post, we will explore three essential steps to better support your yoga arm balances.
By focusing on the Chaturanga Dandasana framework, building core strength and awareness, and improving hip mobility and flexibility, you'll be on your way to soaring into arm balances with confidence.
Three Major Components to Support Your Practice Around Yoga Arm Balances
If you can comfortably sit or lie flat on your back, you too can easily practice any yoga arm balances.
Weight-bearing postures in yoga are, without a doubt, challenging poses to master.
However, it is possible to do them.
What is required is to learn about the details and individual components. This takes time to make them more accessible.
Most arm balances are built from the same Chaturanga Dandasana or plank pose framework.
Yet, Chaturanga Dandasana, so pivotal to vinyasa-based practice, is often rushed, or we only sometimes take time to break it down & learn it.
Can you remember your first encounter with yoga and exposure to this pose?
Have you mastered the understanding to fully appreciate the mechanics of the movement and the demands it puts on your shoulders to remain safe?
How do you stay safe while lowering down or transitioning into Upward Facing Dog (Urdhva Mukha Svanasana)?
Have you ever thought about the frequency with which you practice Chaturanga Dandasana vs infrequency of other things we may not do enough of?
Understanding how to approach the pose with precision and skill while keeping your shoulders safe should be the first step for beginners and those with established practice wishing to refine old habits.
Most of the alignment mistakes we make happen because we don’t have enough strength to do the posture.
You want to build from the ground up when learning weight-bearing arm balances in yoga. Break them into similar shapes to see areas that need more time to develop or any old habits to refine.
Considering arm balances are practised on the upper extremities, paying attention to the entire frame, including hands, elbows, arms, and shoulders, is vital. For example, the ideal position for the elbows in Chaturanga Dandasana is 90° degrees.

1. Chaturanga Dandasana Framework
Learn, refine and practice these three simple steps when practicing Chaturanga Dandasana:
Align the upper arm bone with the midline of your body.
Keep the vertical line from the shoulder head to the elbow.
Avoid the elbows moving too far behind the body & away from the midline. This slips the shoulder head forward and down, taking the arm into an extension and putting various soft tissue at a slight risk.
Remember, whenever you transition from High Plank into Chaturanga Dandasana, keep hugging the elbows in, avoiding them splaying out casually.
Your spine in Chaturanga Dandasana remains in a neutral plane, taking the inner borders of your shoulder blades in towards the midline of your spine & down, helping to keep the shoulder heads from slipping forward & down.
Take a moment to pause when you transition from High Plank to Chaturanga Dandasana. Then, spend more time aligning and paying attention to the details to get a feel for the required actions.
Lack of strength, stability and solid framework is often where most alignment mistakes we make in Low Plank/Chaturanga Dandasana happen.
Here are my 3 x simple steps you can add to your practice to build the strength for a well-aligned and stable Low Plank / Chaturanga Dandasana;
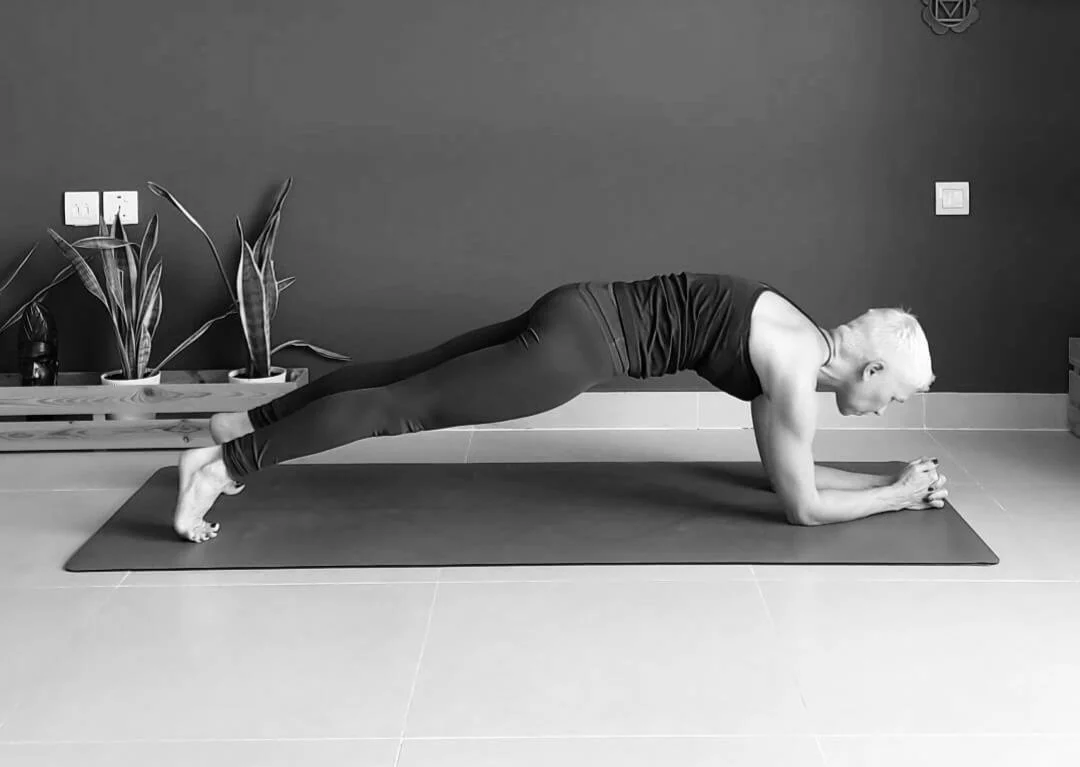
Forearm Plank is a great core strengthener as it targets the exact outline of deep abdominal muscles that you use in Chaturanga Dandasana. To build the solid frame, swap a couple of conventional transitions of Chaturanga to Upward Facing Dog for longer-held Forearm Planks.
Locust is a tremendous back-body strength. It recruits the spinal muscles, rhomboids, lats, and lower and middle trapezius. To help avoid shoulder heads moving forward & down) rotate your palms down.
Half Chaturanga/or Mini Push-ups is an accessible, straightforward shoulder strengthener. It targets your chest, arms, and the front of your shoulders, modified by bringing your knees to the ground to reduce intensity. Very quickly, you get a feel for Chaturanga's shape and movement.
2. Abdominal Strength, Pelvic Floor and Core Awareness
Core strength plays a significant role in arm balances, providing stability and support.
We'll delve into the importance of engaging the muscles of the abdominal region and connecting the ribs to the pelvis and lower spine.
By practicing reclined and seated core strengtheners like Half Boat Pose and Sphinx roll-ups, you'll activate and strengthen the entire abdominal wall.
We'll also explore the connection between the pelvic floor muscles and arm balances, emphasizing containment and drawing energy inward.
Your core plays a significant role in arm balances with hip and hamstring opening elements. You want the muscles of the abdominal region to;
contain the weight
connect the ribs to the pelvis and the lower spine
stabilise the lumbar spine, especially if you are more mobile in that region

STOP AND TRY THIS?
Lie down on your back.
Bend your knees so that the shins come parallel to mat.
Reach both arms up, flex the heels of palms and spread your fingers wide.
Bring inner feet together and open your knees wide as shoulders.
Lift your chest up and reach your arms through, in between your legs and up against those inner legs.
With legs actively hug in, with upper arms firmly press away.
Curl the sacrum off the floor to actively engage your inner core.
Et voilà. Bakasana arm balance flipped on its back. NOW do the same while seated.
Reclined core strengtheners will target your abdominal muscles, and challenge you from start to finish. They help your attention stay grounded.
One of the preparatory postures that help to learn and understand how to engage deep layers of the abdominal frame is Half Boat Pose/Ardha Navasana.
HOW TO?
Start in Boat Pose/Paripurna Navasana.
Rotate the pelvis back and under.
Hollow through your breastbone.
Hold on to your thighs and lean back.
Keep your arms forward, above your head, or interlace your fingers.
Take five breaths before you lower back down.
Repeat this a few times.
Sphinx roll-ups
They are a great way to establish: a sound core activation and maintain the postural centre of your ribs, pelvis and spine. To fire up the entire abdominal wall, keep drawing your front ribs in.
HOW TO?
Lower to the floor.
Bring your elbows forward so that they’re directly under your shoulders.
Press down into your forearms and broaden your shoulder blades.
Lift your ribs, navel, and hip points up, and on your exhalation, lift your thighs off the floor and straighten your legs.
Take five breaths before lowering back down.
Repeat this a few times.
Remember, most of the arm balances rely on core strength and the functioning of pelvic floor muscles. The pelvic floor muscles run between the pubic bone in front, the tailbone at the back and two sitting bones on the side.
When you learn to properly engage your pelvic floor muscles, you can create a pull towards the centre. It is essential in this family of arm balances. Practice containing & draw the energy inwards and learn to connect the ribs to the pelvis & lower back.
Learning how to connect, contain and align the entire vertical column of your spine to get a feel for the posture in less demanding planes.
3. Mobility & Flexibility Around the Hip Socket
Arm balances can be fun. However, they need time to fully develop their understanding and learn the skills to practice them easily.
Most of the arm balances would need you to have good level of mobility around your hips with a good range & motion.
To achieve achieve that, you would therefore need to work your hips & legs to build a baseline and a level of flexibility to get into arm balancing postures.
To open your hips, you want to aim to create space in the entire circumference of your hip joint.
The hip socket is a 360° joint, and in yoga, you want to target the entire hip socket's front, side, back and outer compartment muscles.
Pigeon pose is one of those hip openers that take your hips through the motion in different planes and as many as three different angles.

PIGEON TO RESCUE
Version 1 - Lean into straight arms at approx 45° angle. Recreate the actions you would in Downdog. Use the length of your arms to press down; with your hands, grip the mat and lift the chest while you roll the hip creases back. The outer hip moves around as the opposite front hip point rotates forward.
Version 2 - Bring one forearm down. Take opposite fingertips to the side. Press both; the forearm and the fingertips down to lift and rotate the chest. Hold your knee. Pull against the knee & with the knee, press against the hand. Feel the outer hip as it scoops back.
Version 3 - both forearms to the floor. Walk them away from the bent knee. Take one hand into the arch of the foot. Press the foot and hand together; lift and turn the chest. Walk another arm forward & reach fingertips as far as they would go.
REMINDER. When it comes to Pigeon and if you are experiencing any discomfort or pain in your knees, flexing your feet won't protect your knees! It CAN'T, as there are NO muscles that flex the foot that also crosses the knee.
Instead, what works is to start at 90-90 = keep a 90° angle on the front leg and back leg. One front leg is fully grounded. Then, you can begin to straighten the back leg.
Mastering yoga arm balances is a journey that requires patience, dedication, and a willingness to explore your body's potential.
By focusing on the three steps outlined in this blog post – the Chaturanga Dandasana framework, abdominal strength and core awareness, and hip mobility and flexibility – you can enhance your practice and unlock the beauty of arm balances.
Remember, progress is made by embracing the details, understanding the mechanics, and nurturing a sense of curiosity and self-awareness.
Arm balances are not just about physical strength; they also require mental focus, breath control, and a deep connection to your body and inner self. Stay committed, stay curious, and most importantly, listen to your body.
Trust that with consistent practice and a sense of playfulness, you will gradually unlock the joy that comes with defying gravity.

[FREE Access Starts Now] Master Your Transitions
FREE 3-day series on mastering Chaturanga Dandasana, also known as Four-Limbed Staff Pose or Low Plank.
For the next 4 days, you'll have access to 1st module of my full-fledged course designed to finally help you navigate posture, which many of you struggle with.
If you are a Vinyasa yoga practitioner, Low Plank or Chaturanga Dandasana is a familiar pose you encounter repeatedly in class.
However, if you are not well-informed about executing this pose, you risk overtaxing your joints.
Misalignment in Chaturanga Dandasana can lead to shoulder strain, rotator cuff injuries, and neck and low back pain.
It is, without a doubt, essential that you approach this pose with precision and awareness if you aim to keep it as part of your repertoire.
I cannot begin to tell you how many people I see struggling with transitions in class. The problem is, typical class settings do not allow time to break down the pose so that you can learn it properly.
While it's commonly practiced as part of a flow sequence, there's a lot more to it than meets the eye.
You know this is for you if you:
CAN'T comfortably do 5 Chaturanga in a row
have NO IDEA why you struggle to shift into Upward Facing Dog
have PAIN in your lower back
choose the WORST way to modify and wonder why you don't progress
don't KNOW other alternatives